The Funtoo Linux project has transitioned to "Hobby Mode" and this wiki is now read-only.
Package:IBus/Misc
IBus/Misc
We welcome improvements to this page. To edit this page, Create a Funtoo account. Then log in and then click here to edit this page. See our editing guidelines to becoming a wiki-editing pro.
In Funtoo we also provide additional IMs that don't add specific language support but can prove very useful, here is a list of the current package list:
If you encounter any issues with the software or want us to add other input methods, please submit a bug report to the bug tracker
ibus-handwrite
The ibus-handwrite allows the user to draw Chinese and Japanese characters
Installation
Simply run:
root # emerge ibus-handwrite
then head to ibus-setup, go to the Input Method tab, click Add and click on the Chinese or Japanese language sections, and it should be available, once it is added you can switch to it and start drawing
Usage
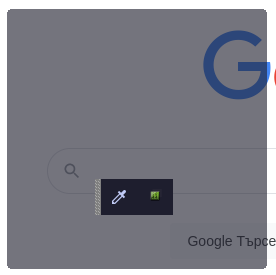
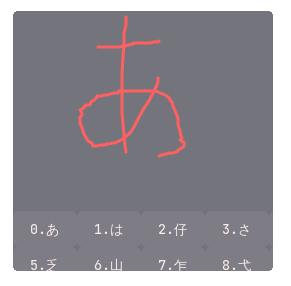
When you switch to the handwrite input method, you will get something like this when you click on an input box:
Since ibus captures your default theme, widgets like this might have problems with the colours, for example in the image ibus uses the catppuccin gtk theme, which makes the background dark, but the foreground colour grey. To fix this, click on the colour picker button and a popup will open that will allow you to change the foreground colour.
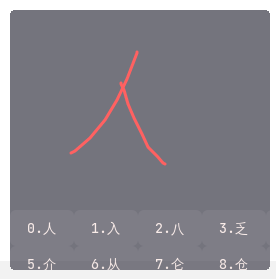
ibus-handwrite allow you to input universal Chinese characters:
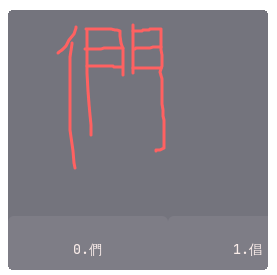
Traditional Chinese characters:
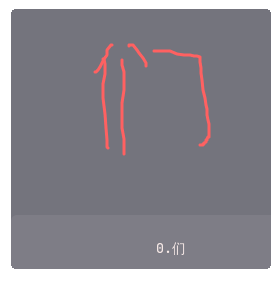
Simplified Chinese characters:
And even Japanese Kana:
ibus-input-pad
The ibus-input-pad package provides an graphical input pad and enables the user to input characters not found on their keyboard without having to learn a keyboard layout or to input the unicode codepoints themselves
Installation
Simply run:
root # emerge ibus-input-pad
then head to ibus-setup, go to the Input Method tab, click Add and click on the Other section, and you will see it on the list
Usage
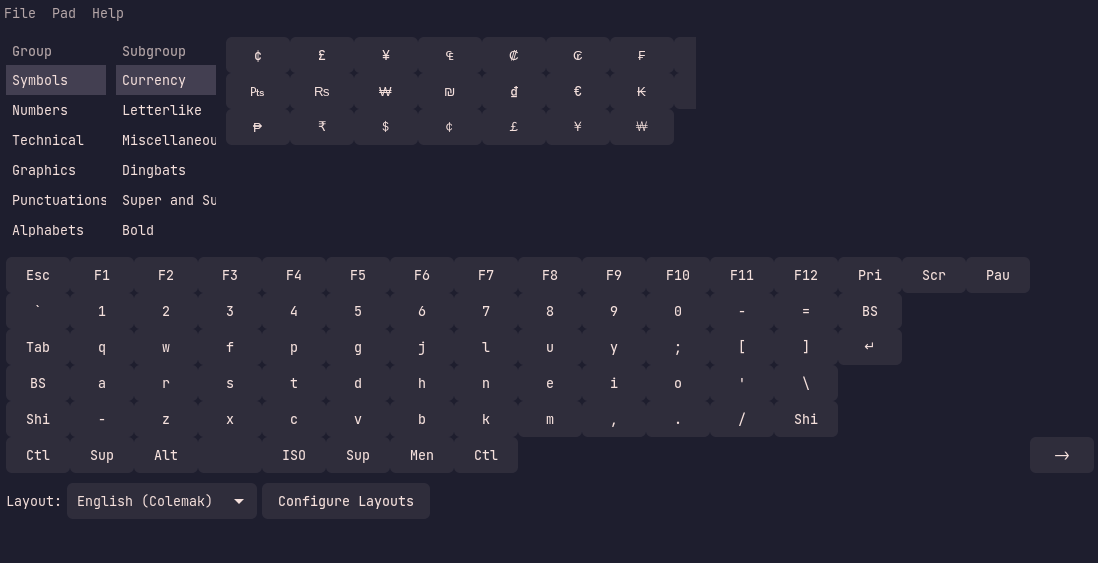
When you select the input pad input method and click on an input box, a small popup with 2 buttons will appear, the first button launches the input pad, with 2 different options, the second one opens the settings for the input pad.
Here you can see the full input pad:
while here, you can see the keyboard only input pad:
ibus-input-pad depends on the input-pad package, so running input-pad, will open the same input pad, the ibus integration allows for better and more smooth input of some characters into text fields
Input Methods under ibus-m17n
The package ibus-m17n also provides additional helpful input methods, here are the more notable ones:
- t-latn-post - Latin script input method using postfix modifiers, i.e. a" -> ä
- t-latn-pre - Latin script input method using prefix modifiers, i.e. "a -> ä
- t-lsymbol - Allows for typing of special characters using regular Latin characters, i.e. /:) becomes 🙂
- t-math-latex - Allows for typing mathematical expressions and symbols using LaTeX syntax
- t-unicode - Allows for typing with Unicode code points
Installation
Simply run:
root # emerge ibus-m17n
then head to ibus-setup, go to the Input Method tab, click Add and click on the Other section and scroll through the list until you find the method you want
ibus-typing-booster
The ibus-typing-booster package provides a plugin for ibus that can allow you to type faster based on hunspell dictionaries and by learning from your typing style
Installation
Simply run:
root # emerge ibus-typing-booster
then head to ibus-setup, go to the Input Method tab, click Add and click on the Other section and scroll through the list until you find the typing booster method.
Additionally, you will need to download dictionaries for smoother usage. To do this, you can enable one of the 4 USE flags of app-text/enchant
- aspell
- nuspell
- hunspell
- voikko - Mostly used by Finnish users
After modifying the flags, you need to update your world set:
root # emerge -uDN @world
additionally, you might need to enable some languages part of the L10N USE expand variables for these packages, for them to install
Usage
The developer of the software has published a video that detals everything the software provides in the project's webpage here
